• Tutorial: CSS
Mastering the CSS Float Property
When creating a web layout, there are few properties as essential, yet as illusive as the CSS float property. This short tutorial will help you better understand its odd behavior and how to control it.
The Problem
Let's begin with a simple layout.
<div>
<img src="image.jpg" />
<p>Lorem ... Ipsum</p>
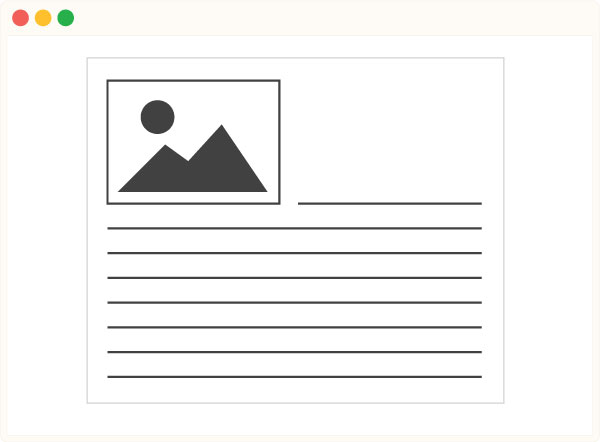
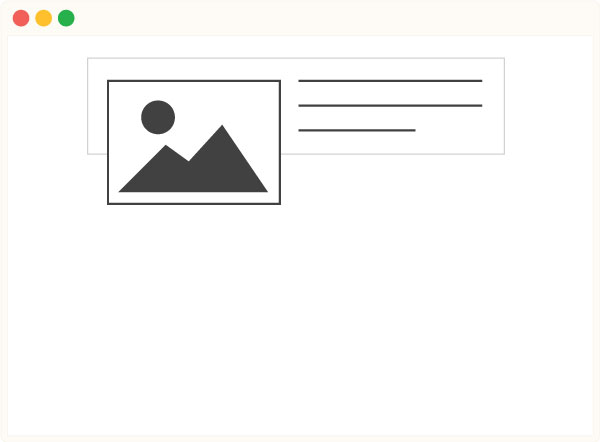
</div>Let's say we want the text to wrap around the image. Easy enough. We just float the image to the left and the text will flow right around it.

img {
    float: left;
}
But, when we make the paragraph shorter, or remove it entirely, we run into a problem.
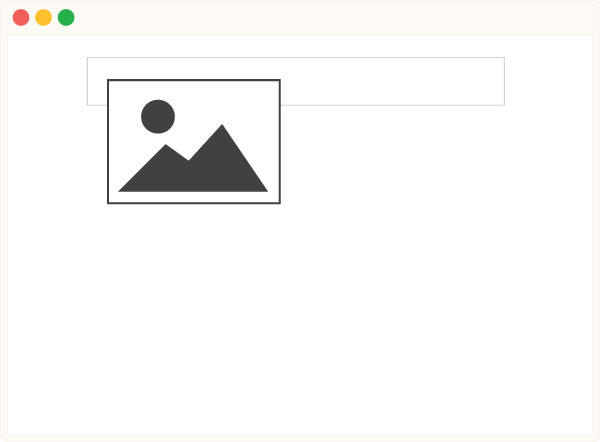
Floated elements are not part of the natural document flow, meaning their containers essentially ignore them. Without any normal (non-floated) children, the container completely collapses.
How do we fix it?
The Solution
Before we can fix anything, we must first understand float's sister property; clear. This property prevents elements from floating.
img {
float: left;
}
p {
clear: left;
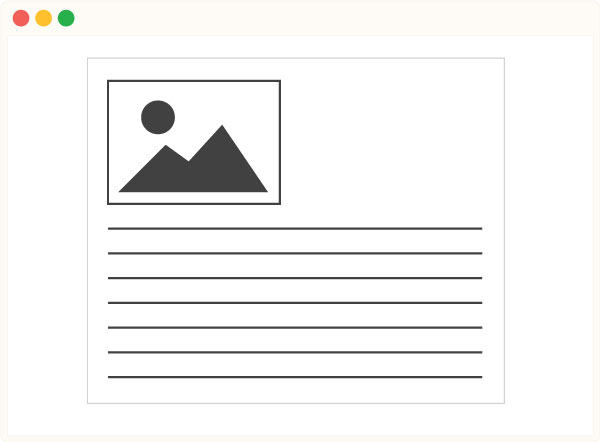
}The clear property prevented the paragraph from wrapping around the image even though the image was floated. This means, that to fix our problem, all we need to do is add an element to the end the container that has the clear property applied to it.
There are a couple ways of accomplishing this. The first is to literally add an empty element and clearing it.
<div>
    <img src="image.jpg" />
    <div style="clear:both;"></div>
</div>
A far better solution is to use the CSS pseudo element, :after, to create a "fake" element at the bottom of the container dynamically.
.clearfix:after {
    clear: both;
    content: '';
    display: block;
}
Now, all we have to do is add our "clearfix" class to our container and we will never have to worry about collapsing containers again! You'll thank me later.
<div class="clearfix">
    <img src="image.jpg" />
</div>
Adding Margin Collapse
The above solution presents itself as an opportunity to solve another one of CSS' quirky behaviors. Nicolas Gallagher came up with this clever solution for fixing floats and margin collapsing with one, beautifully simple piece of code.
.clearfix:before,
.clearfix:after {
    content: '';
    display: table;
}
.clearfix:after {
    clear: both;
}
And if for some reason you are still foolishly supporting IE 6 and 7, add this as well.
.clearfix {
    *zoom: 1;
}
Other Resources
And just in case you still have some questions on the topic, check out this guide from CSS Tricks and this one from Smashing Magazine.